I’ve been a gamer my whole life. And it seems the apple doesn’t fall far from the tree, as my son has become one too. One of his favorite games is Rust (no, not the programming language). This weekend he asked if we could set up our own server. My initial thought was I didn’t want to deal with one of those Rust subscription services that let you stand up a server. But quickly I realized DigitalOcean is the perfect place to host a Rust server.
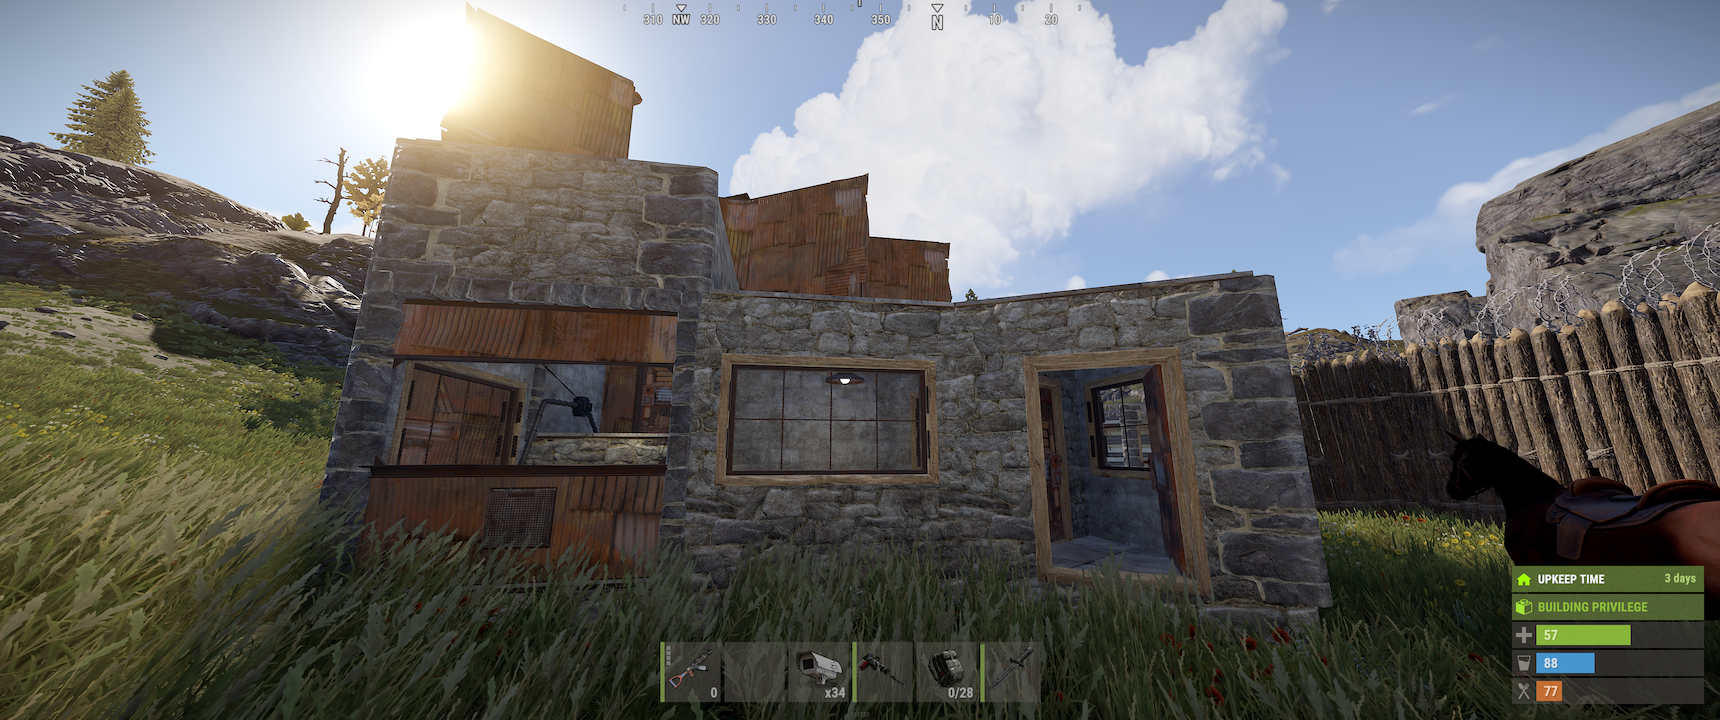
Within an hour, we had a fully functioning Rust server running.
Here’s how you can do it too.
Server Requirements
For a smooth, performant Rust server experience, I suggest:
- OS: Ubuntu
- CPU: 4 vCPUs minimum (Premium AMD or Intel)
- RAM: 16GB minimum
- Storage: 80GB SSD minimum
I went with a Premium Intel droplet with 16GB RAM / 4 vCPUs.
Step-by-Step Setup Guide
Create Your Droplet
- Sign up for or Log In to DigitalOcean
- Click “Create Droplet”
- Choose Ubuntu (Latest)
- Select Premium Intel or AMD with 16GB RAM / 4 vCPUs
- Choose a datacenter region closest to your players
- Add your SSH key or create a password
- Click “Create Droplet”
Initial Server Setup
SSH into your new server and run these commands:
# Update system
sudo apt update && sudo apt upgrade -y

# Install required dependencies
sudo apt install lib32gcc-s1 ufw curl software-properties-common -y
sudo add-apt-repository multiverse
sudo apt update
sudo apt install lib32stdc++6 -y

# Create steam user
sudo useradd -m -s /bin/bash steam
sudo passwd steam
sudo usermod -aG sudo steam

# Switch to steam user
su - steam
Install SteamCMD and Rust Server
# Set up SteamCMD
mkdir ~/Steam && cd ~/Steam
curl -sqL "https://steamcdn-a.akamaihd.net/client/installer/steamcmd_linux.tar.gz" | tar zxvf -
chmod +x ~/Steam/steamcmd.sh

# Create and install Rust server
mkdir ~/rustserver
./steamcmd.sh +force_install_dir ~/rustserver +login anonymous +app_update 258550 validate +quit
Configure the Network
This is crucial - your server needs to be accessible to players.
First, configure the firewall on your server:
sudo ufw allow 22/tcp     # SSH
sudo ufw allow 28015/tcp  # Game port
sudo ufw allow 28015/udp  # Game port
sudo ufw allow 28016/tcp  # RCON port
sudo ufw allow 28082/tcp  # RCON web panel
sudo ufw enable
Then set up the DigitalOcean firewall:
- Go to Networking → Firewalls
- Create a new firewall
- Add these inbound rules:
- SSH (TCP 22)
- Custom TCP 28015
- Custom UDP 28015
- Custom TCP 28016
- Custom TCP 28082
- Apply it to your Rust droplet
Create the Startup Script
Create ~/rustserver/start_rust.sh:
#!/bin/bash
export LD_LIBRARY_PATH=$LD_LIBRARY_PATH:~/rustserver/RustDedicated_Data/Plugins/x86_64

cd ~/rustserver
./RustDedicated -batchmode \
  -nographics \
  -server.ip 0.0.0.0 \
  -server.port 28015 \
  -server.maxplayers 100 \
  -server.hostname "Your Server Name" \
  -server.identity "my_server_identity" \
  -server.level "Procedural Map" \
  -server.seed 12345 \
  -server.worldsize 4000 \
  -server.saveinterval 300 \
  -rcon.port 28016 \
  -rcon.password "your_rcon_password" \
  -rcon.web 1 \
  -rcon.web.port 28082
Make it executable:
chmod +x ~/rustserver/start_rust.sh
Create the Service
Create /etc/systemd/system/rust-server.service:
[Unit]
Description=Rust Dedicated Server
After=network.target

[Service]
Type=simple
User=steam
ExecStart=/home/steam/rustserver/start_rust.sh
Restart=always

[Install]
WantedBy=multi-user.target
Start it up:
sudo systemctl enable rust-server
sudo systemctl start rust-server
Testing Your Server
Before inviting players, let’s make sure everything is working. Here’s how to test each component:
Check Server Process
sudo systemctl status rust-server
Look for “active (running)” in green.
Test Network Connectivity
From your local machine:
# Test game port
nc -zv YOUR_SERVER_IP 28015

# Test RCON port
nc -zv YOUR_SERVER_IP 28016
If these succeed, you’ll see “Connection successful!”
Check RCON Web Interface
Open in your browser:
http://YOUR_SERVER_IP:28082
You should see the RCON login page.
Monitor Server Logs
sudo journalctl -u rust-server -f
Look for “Server startup complete” message.
Test In-Game Connection
- Open Rust
- Press F1 to open console
- Type:
client.connect YOUR_SERVER_IP:28015
That’s it! You’ve set up your own Rust server on DigitalOcean. If you have any questions, feel free to reach out.